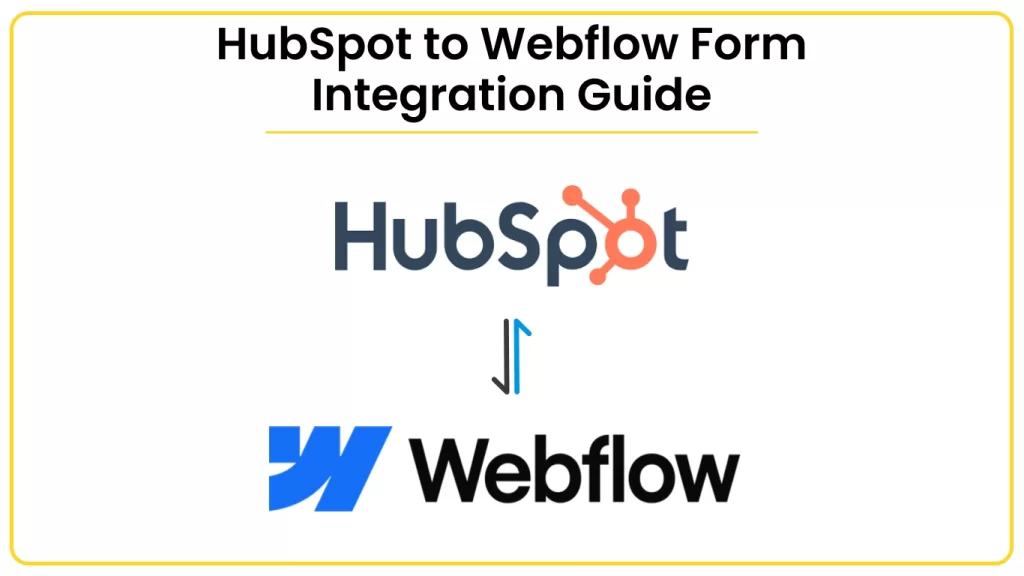
Integrating Webflow forms with HubSpot CRM using API tokens and Webflow Logic is a powerful way to streamline your lead management and improve user experience. This step-by-step guide will show you how to set up this integration, ensuring a smooth and automated data flow from your Webflow forms to HubSpot CRM.
Watch the Video Tutorial:
Before diving into the detailed steps, you can watch our comprehensive video tutorial that walks you through the entire process. Click here to watch the video.
Step 1: Setting Up HubSpot API Access
- Generate HubSpot API Token:
- Log in to your HubSpot account and navigate to Settings > Integrations > API Key.
- Click on Create Key to generate your HubSpot API token. This token will be used to authenticate your Webflow form submissions to the HubSpot CRM.
- Review API Documentation:
- Familiarize yourself with the HubSpot CRM Contacts API by visiting the HubSpot CRM Contacts API Documentation.
- This documentation will guide you on how to create, update, and manage contacts in HubSpot via API calls.
Step 2: Designing Your Webflow Form
- Create a New Webflow Form:
- In your Webflow project, design a form that captures the necessary information from your users (e.g., name, email, phone number).
- Ensure that each input field is appropriately labeled and configured for data collection.
- Apply Webflow Logic:
- Use Webflow’s Logic tool to set up automated workflows based on form submissions.
- For example, you can create a logic flow that triggers an API request to HubSpot whenever a user submits the form.
Step 3: Integrating Webflow with HubSpot API
- Set Up API Call in Webflow Logic:
- In Webflow Logic, add an action that triggers an HTTP request to HubSpot’s API.
- Configure the HTTP request to include the API token and the data collected from the Webflow form.
- Mapping Form Fields to HubSpot Properties:
- Ensure that the form fields in Webflow are correctly mapped to the corresponding HubSpot properties.
- For instance, the email input field in your form should be mapped to the
emailproperty in HubSpot.
- Test the Integration:
- Submit a test form in Webflow and verify that the data is correctly sent to HubSpot CRM.
- Check the HubSpot dashboard to confirm that the new contact has been created or updated as expected.
Step 4: Optimizing and Securing the Integration
- Handle API Errors Gracefully:
- Implement error handling in your Webflow Logic flow to manage API errors, such as rate limiting or invalid tokens.
- Ensure that users receive appropriate feedback if the form submission fails.
- Secure API Tokens:
- Keep your HubSpot API token secure and do not expose it in the front-end code.
- Regularly rotate your API keys and monitor their usage to prevent unauthorized access.
Step 5: Monitoring and Analyzing Performance
- Track Form Submissions:
- Use HubSpot’s analytics tools to monitor the performance of your Webflow forms.
- Analyze submission rates, conversion rates, and other key metrics to optimize your forms and workflows.
- Continuous Improvement:
- Regularly review the integration and make improvements as needed.
- Experiment with different form designs and logic flows to enhance user experience and data accuracy.
Conclusion
By integrating Webflow forms with HubSpot CRM using the HubSpot API and Webflow Logic, you can automate lead management and enhance the user experience on your website. This advanced setup ensures that your data flows smoothly into HubSpot while offering greater customization and control over your forms.
Watch the Tutorial:
Don’t forget to check out our video tutorial for a detailed walk-through of the entire process. Subscribe for more insights on optimizing your web projects!